27 Coffee Bar Cabinet Ideas Worth Stealing
Every idea here comes with the dimension that makes it work: because a coffee bar that photographs beautifully and can't fit your grinder is just an expensive shelf.
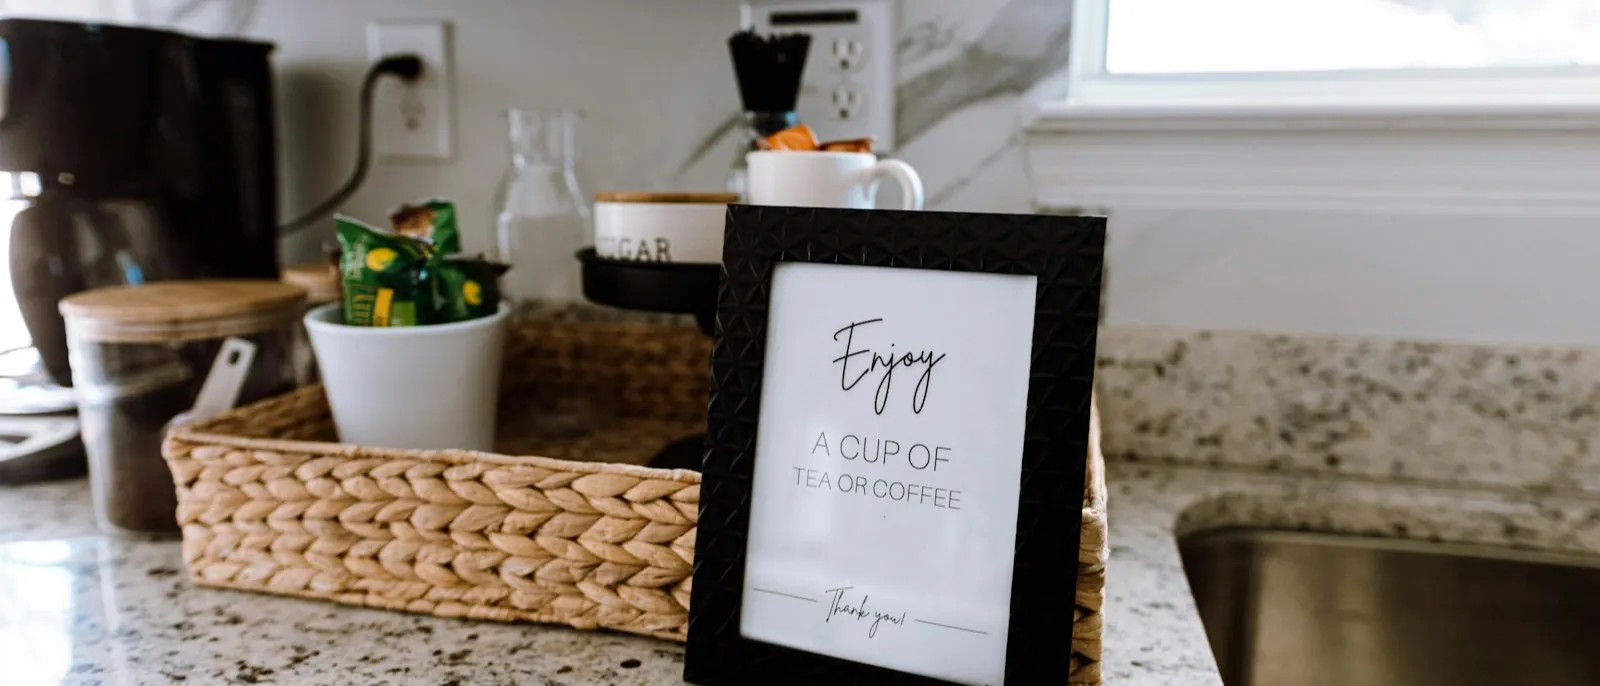
Most coffee bar inspiration photos are useless. They show you a mood and hide the measurement, and then you build one and discover the bean hopper lid hits the cabinet above it.
So here are 27 ideas with the numbers attached. Steal the ones that fit your wall.
Start with these four numbers
Before any of the ideas below, know the dimensions that govern all of them:
| Dimension | Number |
|---|---|
| Counter height (standard, flush with kitchen) | 36" |
| Counter height (espresso-friendly tamping posture) | 34" – 35" |
| Counter depth | 24": 25" to 26" if you want an outlet strip behind |
| Clearance, counter to underside of wall cabinet | 18" – 24" minimum |
Measure your machine with the hopper lid open. The machine fits under an 18" clearance and the open lid doesn't.
The alcove builds
1. The 36-inch alcove. The workhorse: one 36" base cabinet, counter, and a recessed backsplash niche. Fits a drip machine, a grinder, and a mug landing zone without borrowing counter from the rest of the kitchen.
2. The 48-inch two-station alcove. Go to 48" and you can run a drip machine and an espresso setup side by side, with the 18" of landing space between them that makes both usable at once.
3. Steal the pantry's shoulder. A coffee alcove built into the end of a tall pantry run costs almost nothing extra in cabinetry. You're already building the box. Keep the alcove 24" deep and let the pantry above it stay 12".
4. The between-the-studs niche. A 3½"-deep recessed shelf above the counter, framed between existing studs, holds mugs and beans without eating a single inch of work surface.
5. Bump the counter to 25½". An extra inch and a half of depth buys you a horizontal outlet strip behind the machines and keeps cords out of the splash zone. Nobody notices the depth; everybody notices the cords.
6. Drop the alcove counter to 34". Only if the coffee bar is its own run and the countertop isn't continuous with the main kitchen. A step in a continuous counter always reads as an error, never as a design decision.
Hiding the machine
7. The tambour appliance garage. A shallow cabinet that comes down to the counter with a roll-up door. The tambour is the right pick when forward clearance is tight: the door disappears upward instead of swinging into you.
8. The pocket-door garage. Doors that open and then slide back into the cabinet sides. The most invisible option and the most expensive, because you're paying for hardware and for the cabinet depth the pockets consume.
9. The flip-up door. Cheapest concealment, and fine for a compact countertop station. Needs swing room above, so it's a poor match for an 18" clearance.
10. Bi-fold doors. The compromise where a full swing door would block a walkway. Two narrow leaves instead of one wide one.
11. Light the inside. An appliance garage without interior lighting is a cave. LED strip on the underside of the upper carcass, switched with the door.
12. Don't hide it at all. If you pull shots every morning, a door you open and close twice a day becomes a chore by week three. Concealment is for coffee bars visible from the living room, not for the ones you use hard.
Storage that earns its space
13. A dedicated bean drawer. A 6"-high drawer directly under the grinder, divided for bags. Beans in a cabinet above the machine means reaching over hot equipment.
14. Mug drawers, not mug shelves. A 9" to 10"-high drawer with pegs holds more mugs than the equivalent shelf and doesn't require reaching to the back of a dark box.
15. Rollout trays for the machine itself. A rollout under the counter lets you pull a heavy espresso machine forward to fill and clean it. Budget $150 to $400 per cabinet for the rollout hardware.
16. The pod or capsule drawer. A shallow 4" drawer with adjustable dividers. Nobody has ever regretted this one.
17. A vertical tray divider for boards and lids. The narrow 6" to 9" filler cabinet beside the coffee bar earns its keep as vertical storage.
18. Open shelves for the daily eight. Two shelves, the mugs you actually use, and nothing else. Open storage works when it holds things that leave and return every day; it becomes a dust exhibit when it holds anything else.
19. A pull-out trash for grounds. A 9" or 12" pull-out bin at the coffee bar keeps wet pucks and filters out of the main kitchen bin, and stops the walk across the room with a dripping portafilter.
Power, water, and the unglamorous parts
20. Multiple GFCI outlets, not one. Machine, grinder, kettle: three draws, often simultaneously. One outlet and a power strip is how you trip a breaker at 6 a.m.
21. Put the outlets in the backsplash, not the cabinet. Outlets inside an appliance garage look tidy in a drawing and are miserable to reach behind a machine you can't lift.
22. Skip the plumbed line unless you want it. A water line with filtration is convenience, not requirement. Most home machines run happily on a reservoir.
23. If you do plumb it: shutoff, drip tray, leak sensor. An accessible shutoff valve inside the cabinet, plus a drip tray or leak sensor underneath. A slow leak behind cabinetry is a very expensive way to save yourself a jug refill.
24. Undercabinet lighting on its own switch. The coffee bar is used before sunrise more than any other part of the kitchen. Wire it so you can light it without lighting the whole room.
Three ideas that age badly
25. The chalkboard "CAFÉ" panel. It dates the room to the year you installed it.
26. Cabinetry sized to the machine you own today. Machines get replaced every five to seven years; cabinets last twenty. Build the opening for the biggest machine you would plausibly buy, not the one on the counter now.
27. A coffee bar across the room from the sink. You fill with water and you rinse with water. Every step between the coffee bar and a water source gets walked twice a day for as long as you live there; proximity to plumbing beats proximity to the window.
What it costs to build
A coffee bar is a small cabinetry job, and small jobs are priced by the piece rather than by the kitchen. A single alcove run with one base cabinet, a counter, and an upper is a few linear feet of custom work. See our custom cabinet cost guide for the per-foot ranges and what moves them. Add-ons price separately: rollout trays run $150 to $400 per cabinet, specialty inserts $50 to $500 per unit, and soft-close hinges $20 to $50 per door.
Many shops will fit a single small piece into their production line in three to five weeks, rather than the six to sixteen a full kitchen takes. A coffee bar is one of the easiest ways to hire a good cabinetmaker for the first time without committing to a whole kitchen.
Questions people actually ask
How much space do you need for a coffee bar?
A single-brewer setup works in 24 inches of width and 16 to 20 inches of depth. Once you add a grinder, a kettle, and somewhere to put the cups, 36 to 48 inches of width and a full 24-inch counter depth is the practical minimum. Leave 18 to 24 inches of open width beside the machine as landing space, that's where the scale, the portafilter, and the wet puck actually go.
What's the right counter height for a coffee bar?
Standard base cabinet height of 36 inches is right for most people and keeps the coffee bar flush with the rest of the kitchen. If you pull espresso shots and want a more comfortable tamping posture, dropping to 34 or 35 inches helps. A guest-facing bar counter runs 42 inches. Don't drop the height unless the coffee bar is its own run: a step in the countertop line reads as a mistake.
How much vertical clearance does an espresso machine need?
Allow at least 18 to 24 inches between the countertop and the underside of any wall cabinet above it. Tall machines and the hinged lid on a bean hopper are what catch people out: the machine fits, then the hopper won't open. Measure your machine with the lid open before the cabinets are drawn, not after.
Does a built-in coffee bar need a plumbed water line?
No. A plumbed line with filtration is a genuine convenience upgrade, not a requirement, and most home setups run perfectly well on a refillable reservoir. If you do plumb it, insist on an accessible shutoff valve inside the cabinet and add a drip tray or leak sensor underneath. A slow leak behind a cabinet is expensive in a way a water jug never is.
What's an appliance garage and is it worth it for a coffee station?
An appliance garage is a shallow cabinet that comes down to the countertop and hides the machine behind a tambour, pocket, flip-up, or bi-fold door. Worth it if the coffee bar is visible from a living space. Tambour doors save forward clearance, pocket doors are the most concealed and most expensive, and flip-up doors are cheapest but need swing room above.
Where these numbers come from
Counter heights, depths, and clearances are drawn from Kobayashi's coffee bar design guide and coffee counter dimension references; appliance garage door styles and plumbing guidance from Bob Vila and Allure Kitchen Cabinet. Add-on pricing from Casta Cabinetry. Verify every clearance against your own equipment before ordering.